Friday, June 30, 2017

Western Cedar Bird Feeder (2)

Lots of Cedar Trim.

[Photo: Basic feeder is ready for details]

"Very light," I said.

When I placed the feeder onto the workbench yesterday I noticed how light it was. But I knew why. The roof is long and wide, the supports are tall, but aged cedar is not very heavy (compared to, e.g., white pine barnboard) due to low moisture content.

Later, after trim was added to the roof and seed tray, I carried the feeder outside for a "show off" photo.... or two:

 "Sweeeet cedar," I say.

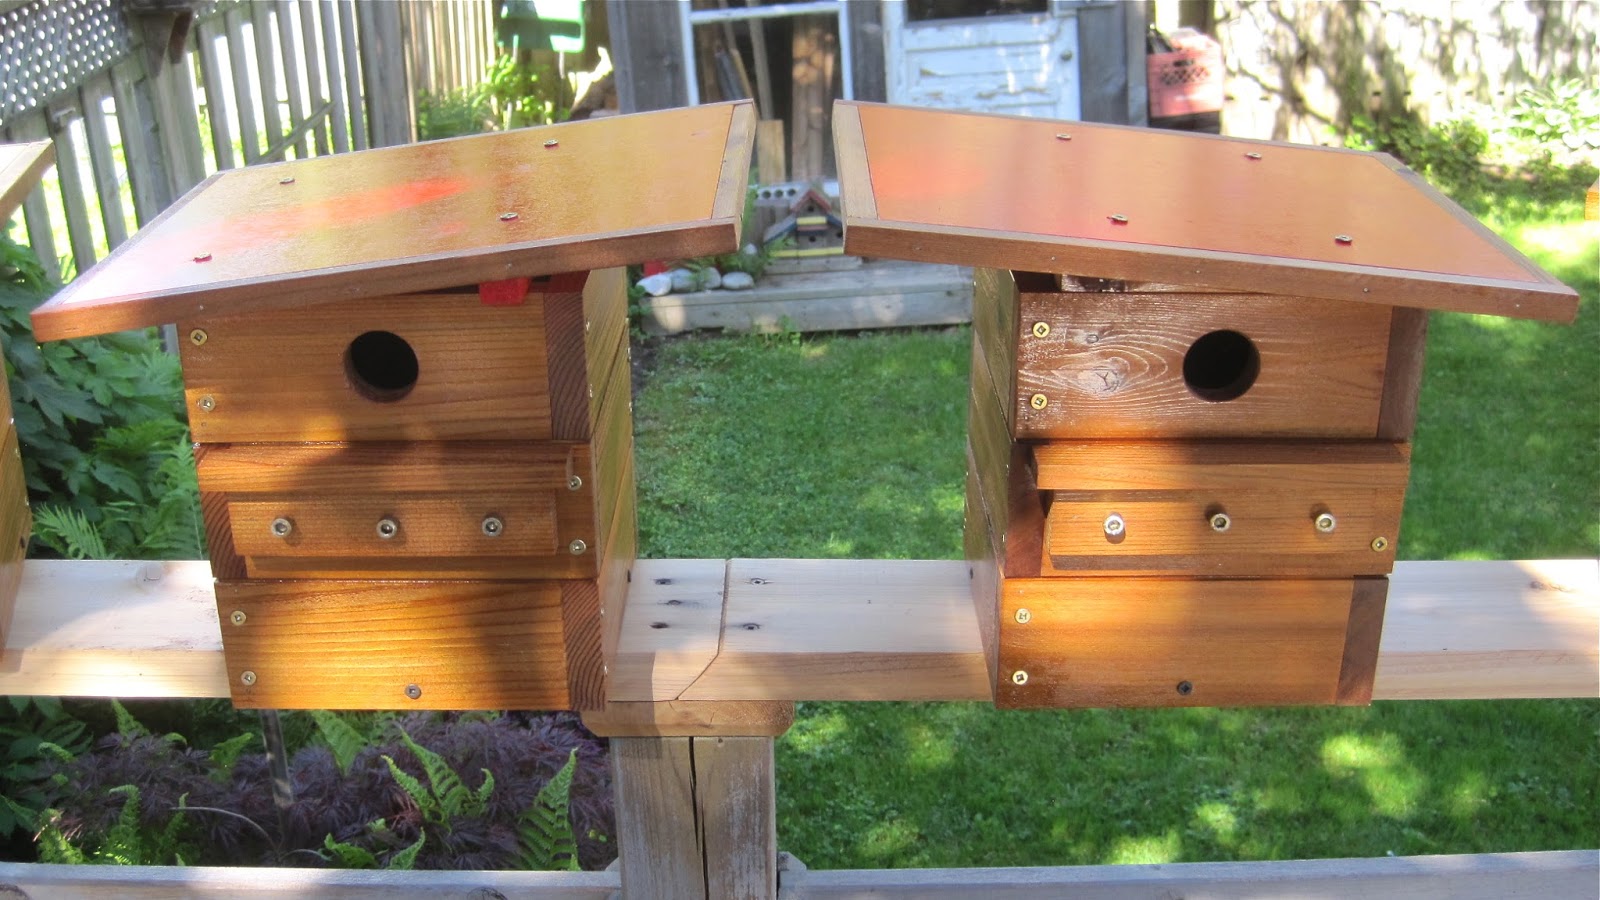
Cedar trim dresses up the tray and roof edges.

Today I will finish a platform and collar for an 8-foot metal pole. Delivery date upcoming.

More to follow.

Please link to Western Cedar Bird Feeder (1).

Photos GH

Thursday, June 29, 2017

Western Cedar Bird Feeder (1).

The Birds Love Them!

Cedar stock for two feeders sits ready for sanding.

Frequently people tell me stories about the birds that visit their backyard feeder, and a note of enthusiasm is usually heard in their voice. And if they have a long-standing feeder, they usually have lots of good stories.

When asked to build a feeder I quickly think about the lumber I have on hand. If I don't have enough good cedar in the shop, then I'll go get some. For me, cedar feeders are the way to go.

Photos show "work in progress":

 "21-inch roof slats will overlap, 3/4-inch shiplap-style"

 "Dark western cedar supports sit inside the 16-inch long seed tray"

 "Roof supports are cut at a 22.5 degree angle"

"Wide roof panels will protect the seed tray from rough weather"

Before adding trim to the roof edges and seed tray, I will secure the roof with nails and screws.

Then, I will prepare a pole and platform for the feeder. Should be ready in a matter of a few hours.

Final photos to follow.


Photos GH

"Tall Boy" Library (5).

Finishing Touches.


Good times. A few more 'touch ups' and the little library will be ready to roll.

Well, I should say "more than a few." The triangular sign needs a few dabs of yellow paint to hide plastic wood that hides wood screws. Signage needs a second coat and more colour. Once dry, the signs need to be attached. Then, one final, significant task....

 "Lookin' better now."

 "Signage gets a first coat."

 "A bit more colour now"

 "All signs are in place."

 "The signs tell the wee library philosophy.... trade books!"


Now, if I can lift this "wee (but very heavy) library" into the back seat of my Honda, I will have it delivered within the hour.

Please link to "Tall Boy" Library (4).

Photos GH

Sunday, June 25, 2017

"Tall Boy" Library (4).

The Open Door Policy

[Photo: Rain guard over the door opening, lines up nicely)

Years ago, while building my first little library for local clients, I felt I needed an extra pair of hands while assembling the door (in four parts, with plexiglass), attaching hinges to it, then holding the completed door in just the right place while drilling in screws to hold the door hinges snuggly. I really struggled with that first door.

Now, after building about 20 libraries and swap boxes, the "door operation" goes smoothly, without even a single drop of blood being shed. That being said, it would be nice to have that extra pair of hands, even for five minutes, in order to set the hinges in just the right way.


Now that the door is in place, I'm left only with easy tasks, i.e., extra door trim and colourful signage. 

More to follow.

Please link to "Tall Boy" Library (3).

Photos GH

Friday, June 23, 2017

"Tall Boy" Library (3).

Trim Trim Trim.


Roof trim is finished, from front edge trim, and roof ridge trim, to the back edge trim.

Thin strips of western cedar provide a very good contrast to the heavy mass of white pine barnboard, in my opinion.


Plexiglass has been ordered, so more progress concerning the front door will be coming up.

Stay tuned.

Please link to "Tall Boy" Library (2).

Photos GH

Thursday, June 22, 2017

"Tall Boy" Library (2).

Progress Continues....


The body is white pine barnboard. The roof is one-inch thick cedar. And because of its height (32 inches) and weight - heavier than me : ) - I call it a "tall boy" rather than a "little library".

Three roof slats on each side are overlapped, small gaps underneath the roof are siliconed, and with a rain guard over the door - currently under construction - I think the library will hold out most of the bad weather.

 Cedar deck boards should stand up to Canadian winters

 Extensive trim work is underway as well

 Four slats for the door and a rain guard (below) are sitting pretty


More to follow, after a wee motorcycle ride.

Please link to Libraries Underway (1).

Photos GH

Tuesday, June 20, 2017

Libraries Underway (1).

Let it Rain, Occasionally.

[Photo: Stock is ready for two more little libraries.]

In the yearly battle for my undivided attention, my 1994 motorcycle and backyard workshop put up quite the fight. On a clear day, blue skies as wide as the horizon, both beckon loudly.

"Ride to The Bruce," says the bike.

"You have another project underway," says the shop.

So, I don't mind a rainy day. Makes my decision easier.

One large library going up:

Just like a birdhouse, I build a sturdy base.

Walls are attached. Sides and back are of two pieces each (overlapped).

Door latch and drip edges are falling into place. Roof is next.

More to follow, due to rainy days ahead!

: )

Please link to Little Free Libraries, Progress Continues (9).

Photos GH

Sunday, June 11, 2017

Rescued Lumber Bathouse.

How Could I Say No?


Friend Craig asked me one evening if I could use cut offs from his work place. His description of the lumber - pine, up to 2 feet long - sounded promising. I said, "Yes."

Bat houses made from pine barn board have been part of the mix of models I make for many years and the back board is 22 inches long. So, everything Craig gave me was very useful.

Rescued Lumber:

 White pine plus cedar trim, looks AOK.

 Bat houses prove spacious, 3 - 4 dozen bats per model.

 Bat logo. Batman would approve.


Photos GH

Friday, June 2, 2017

First Batch of JRs, 2017 (2).

Six More, Coming Up.


The J.R. birdhouse design involves assembling 12 blocks of western cedar into a cube-like shape, with an interior skeleton, then attaching a slick, plywood roof at a jaunty angle.

While making the first batch of six I felt I would soon have to make more, and I was right.


And I planned ahead. The stock is almost ready to go.

More to follow.

Please link to First Batch of JRs, 2017.

Photos GH

Thursday, June 1, 2017

First Batches of the Birdhouse Season (12)

Out of the Paint Can.

Fini!

I've been painting white pine birdhouses for a few weeks, a coat here, a coat there. And every day now a few more models reach the end of the assembly line.

Colours: Out of the paint can and onto the pine. Voila!

On Saturday, at Gathering on the Green, a few will sell and over the summer buyers will find that the houses are more than colourful. They are practical, functional homes for birds and their offspring.

Workshop Public Address System: "The manager of The Workshop would like to thank the employees in charge of building perches, attaching and varnishing perches, and displaying finished models for classy photos of the J.R. Models. Good work, fellas. No, you're not getting a raise but please be on hand for Happy Hour - 5 p.m., on Friday - to receive your 'Recognition Award', if the manager actually recognizes you."

Western cedar J.R. Models:


Photos GH